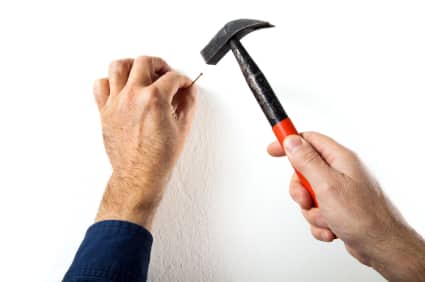
We reveal the top tips to help you perfect the art of hanging.
You’ve taken the time to select a piece of art and have it professionally framed, so why would you leave the final step of the process in the hands of your hubby, who – while enthusiastic – has zero handyman skills? We’ll show you how to transform your feature frame wall into an artful display fit for the finest gallery.
While you might try convincing yourself that the hodgepodge of artwork that flanks your walls is “eclectic”, sooner or later, you’ll forgo this euphemism and realise you’re staring at one big, crooked disaster!
You’ll need more than a handful of new hooks and nails to salvage the mess. Instead, it’s worth engaging the services of a handyman with a wealth of “hanging” experience and whose eagle eye is trained to spot any imperfections.
However, if you still insist on doing it yourself, follow these simple guidelines:
- Before pulling out your drill, you should lay out your frames on the floor to get an idea of how they might look on the wall. Move them around until you’re happy with the arrangement.
- Placement and scale are key. As a general rule, big art goes in big spaces, and small art goes in small spaces.
- Where possible, keep the centre of your artwork at eye level.
- Artwork hung above furniture shouldn’t be longer than the width of the furniture. Art that’s ¾ of the length normally works well.
- Hang frames in a horizontal line (in a row) to give the illusion of width in a narrow room.
- Hang frames in vertical lines (stacked on top of each other) to “increase” the height of a space.
- To mix it up and add interest to a room, consider diagonal or offset (asymmetrical) arrangements; this will create a more casual look and feel.
